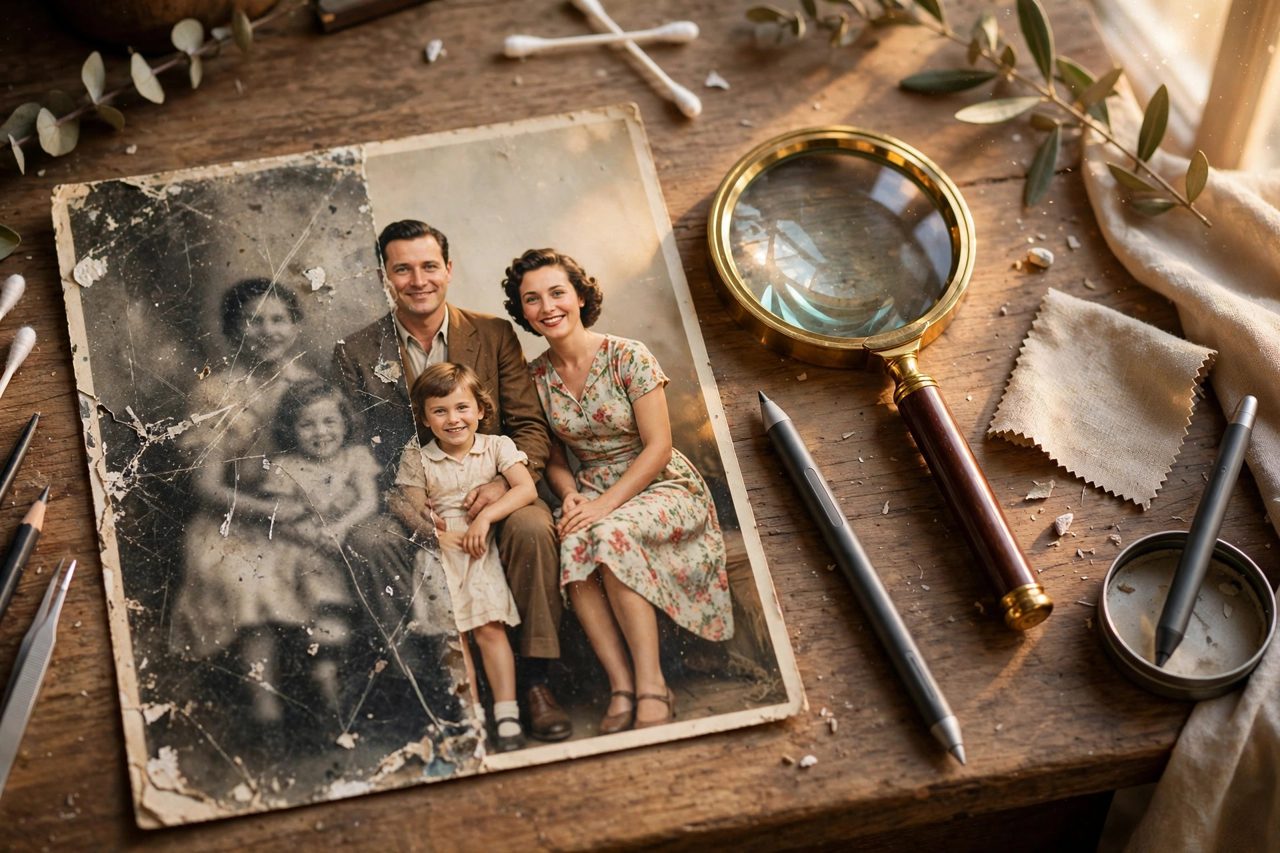
The most expensive AI photo restoration tool is not automatically the right one. Restoring family photos is about repairing damage and adding colour; fixing everyday blurry shots is about noise reduction and sharpening; enlarging product or portfolio images for print is about whether edges and textures still hold up at full size. These are three different jobs, and picking the wrong tool does not just cost a little quality — the money is spent and the photo is still not fixed.
Match the tool to the photo first
| Your situation | Start with | Where it is strong | The catch to check first |
|---|---|---|---|
| Old photos with scratches, fading or missing corners | Mobile restoration apps such as Remini | One-tap repair and colourisation that even grandparents can run | Check export size and paywalls first, and let family verify reconstructed faces |
| Everyday photos that are blurry or noisy | Your phone gallery's built-in enhancement or Lightroom mobile | Natural noise reduction that rarely turns skin plastic | Severe blur cannot be undone, only softened |
| Product or portfolio images to enlarge for print | Desktop tools such as Topaz Photo | Denoise, sharpening and upscaling controlled separately, with batch processing | Not cheap, and it needs a reasonably capable computer |
| You already design in Photoshop | AI denoise and Super Resolution in Photoshop and Lightroom | Fits your existing workflow, with layers and parameters under control | Steepest learning curve; beginners may bounce off the interface |
One classic trap per photo type
For old photos, the trap is a restored face that is no longer the same person. Missing areas are the AI's guess, and eyes or hairlines can quietly change; have relatives confirm the result before you enlarge and frame it. For everyday photos, the trap is over-processing: push sharpening and denoise together and skin turns waxy, which is especially bad for ID or résumé photos that need realism. For commercial images, the trap appears at enlargement: a thumbnail looks stunning, but at print size the text edges and product textures give it away, so always inspect at 100 percent at the final dimensions before delivery.
Three kinds of people who should not pay yet
If you only have one or two keepsake photos, use free quotas or per-image services first; an annual plan rarely pays for itself. If you hope a badly damaged print can be returned to its original state, lower your expectations: AI can produce a complete-looking photo, but the filled-in parts are inference, not recovered information. And if the restored image is meant to serve as historical material or evidence, do not use creative restoration at all — keep the original and limit yourself to cleaning that changes no content.
A safe order to decide
Fix the photo type first, then spend free quotas: run the same photo through two tools, compare faces, text and edges side by side, and only then pay. Follow that order and you will rarely end up with the most expensive tool producing the least faithful result.