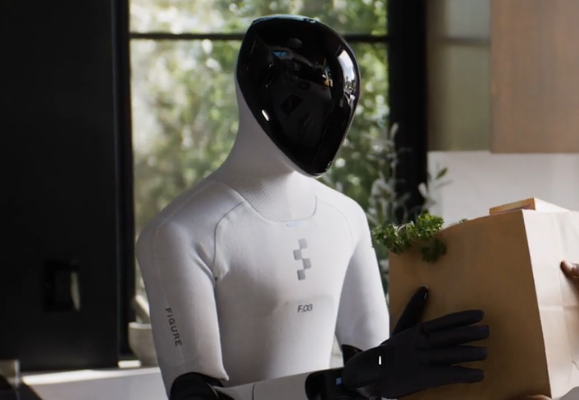
Figure 03 What is a humanoid robot? Understand the article General Labor for Households
1. Product positioning Figure is an AI robot company focusing on general-purpose humanoid robots, and its current main product is Figure 03 for home s...
AI hardware • Admin •
143